Este tutorial é da autoria de Cloclo

Obrigado por a sua confiança e o seu pedido para a tradução dos seus tutoriais
Nota da Autora:
É estritamente proibido copiá-lo ou distribuí-lo na web, blogs, fórum sem minha permissão por escrito.
Este tutorial foi realizado com Corel PaintShop pro 2020
Mas também pode ser realizado com outras versões PSP
traduzido com PSP ult. 2019
(se utilizar tubes com licença, não esqueça de a colocar sobre o seu trabalho)
Tutorial original: AQUI
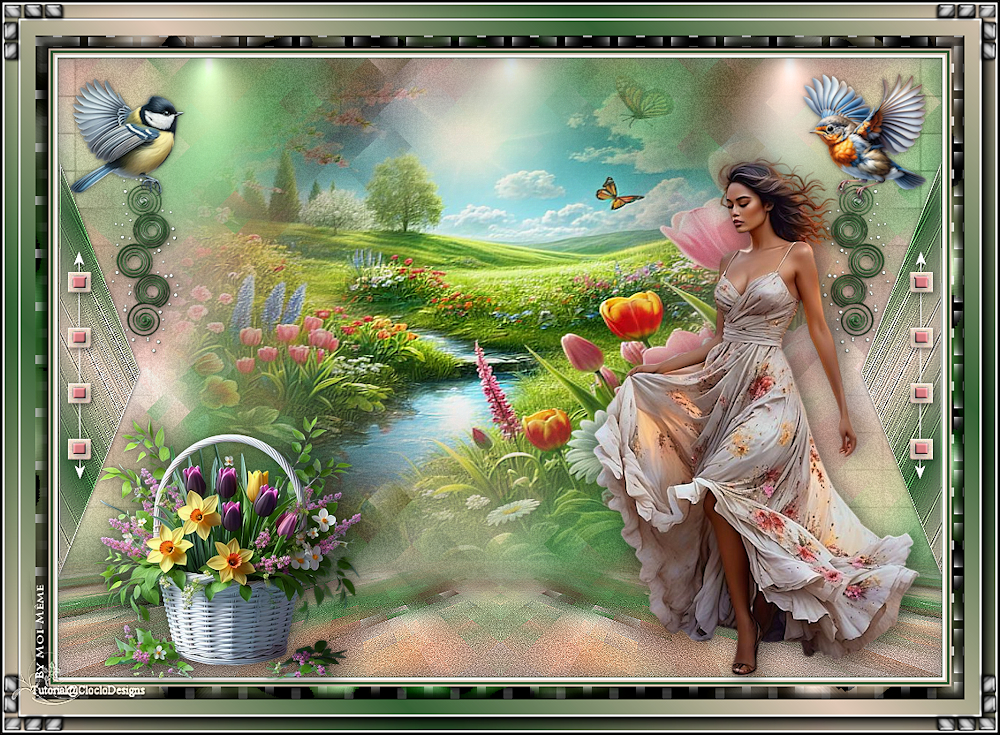
Versão conforme ao original:
Material: a descarregar no site da autora
Remover as assinaturas dos tubes antes de os utilizar
Colocar a texture winni.texture.11 na pasta textures do seu psp
Plugins:
Filters Unlimited 2.0 :
&<Background Designers IV> / @Night Shadow/ sf10 N Dice
Mezzy / Dusty
Kang 2 / the Peacock variations
::::
Mehdi / Sorting Tiles
FM Tile Tools
MuRa's Filter Meister / Perspective Tiling1.1
AAA Frames / FOTO FRAME

Dimensões initiais: 1000 X 700 pixels
Roteiro:
1
Cores originais:

Foreground: #dfc8b6
Background: #356235
Outras: #d07a7e / Branco / preto
Carregar o ficheiro canal alpha
Preencher com a cor Background
Selections, select all
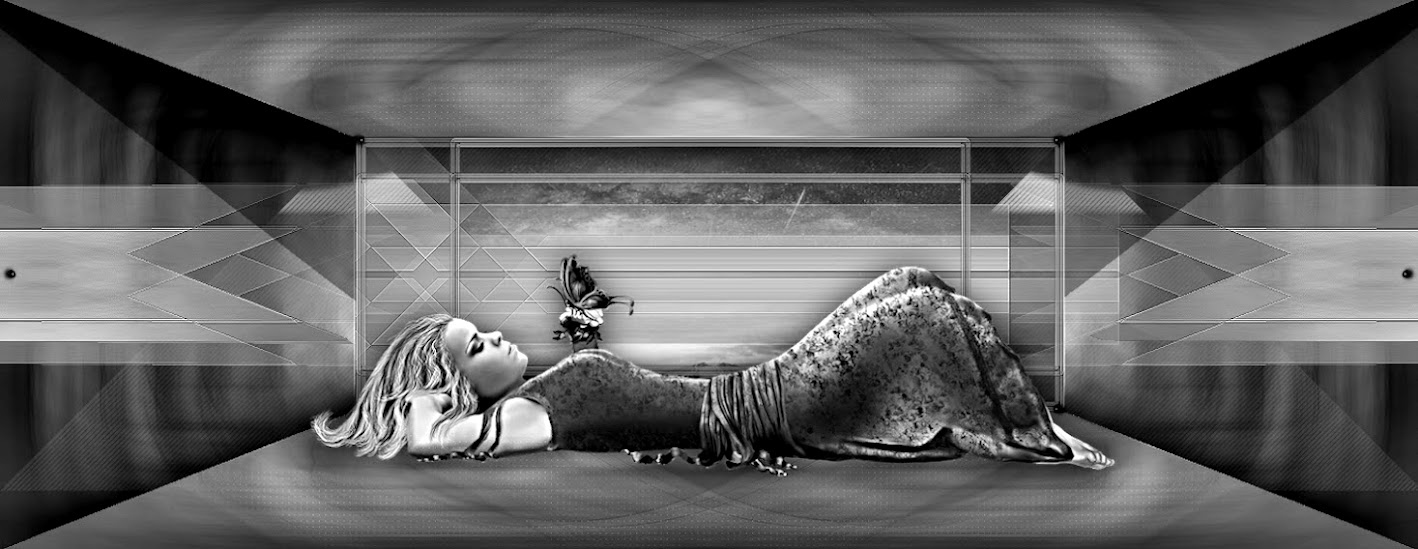
Carregar o tube mulher " tube femme Cloclo "
(guarde-o aberto no seu PSP para depois)
*Sobre o seu trabalho: Edit/paste into selection
Remover a seleção
Effects , Image effects, seamless tilling:

Adjust, blur, gaussien, radius a 40

Effects, plugins:
Filters Unlimited 2.0 / &<Background Designers IV> / @Night Shadow:

Effects, plugins:
Filters Unlimited 2.0 / &<Background Designers IV> / sf10 Slice N Dice, como à abertura
Effects, plugins: Mehdi , Sorting Tiles:

Adjust, add noise:

3
Carregar o tube déco Cloclo, copy
*Paste as a new layer
Objects, Align, top
Layers, properties, blend mode, luminance (legacy), Opacity a 55
Preparar um gradiente de cores (gradient) Foreground/background/ Linear:

Juntar uma nova layer
Selections , load a selection from alpha channel, Cloclo1

Adjust, blur, gaussien, radius a 10
Effects, Textures effects, Texture ( winni.texture.11) :

Effects, Edges effects, enhance
Remover a seleção
4
Effects 3 D, drop shadow: 0 / 0/ /40 / 5 / preto
Effects, Reflection effects, rotating mirror:

Effects, 3 D, drop shadow: 0 / 0 /40 / 5 / preto

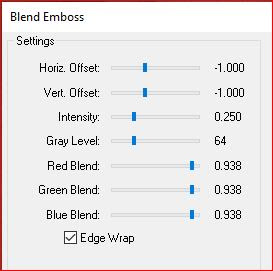
Effects, plugins: FM Tile Tools / Blend Emboss, como à abertura
Ativar a layer do fundo das layers
Duplicar esta layer
Layers, arrange, bring to top
Effects, plugins: MuRa's Filter Meister, Perspective Tiling1.1:

Effects, reflection effects, rotating mirror , dados como antes (memorizado)
5
Ativar a magic tool, feather a 60, Clique na parte transparente

DELETE 6 vezes
Magic tool: volte a colocar feather a 0
Remover a seleção
Effects, Edge effects, enhance
Effects, 3 D, drop shadow: 0 / 0 / 50 / 15 /preto
Juntar uma nova layer
Preencher de branco
Carregar o mask empty-black
Layers, new mask layers, from image:

Layers, merge group
Layers, properties, colocar blend mode em Luminance legacy
Effects 3 D, drop shadow: 0 / 0/ /50 / 5 / preto
6
Carregar o tube misted paysage, copy
*Paste as a new layer
para colocar: objets, align, top, ou ver o exemplo final
Effects, plugins: FM Tile Tools / Blend Emboss, como à abertura

Juntar uma nova layer
Selections, load a selection from alpha channel, Cloclo2
Preencher com a cor foreground (#e4d8d2)
Effects, plugins: Mezzy / Dusty
(ver se o plugin se encontra no seu Filters Unlimited 2.0 )

7
Effects 3 D , Inner bevel:

Juntar uma nova layer
Selections, load a selection from alpha channel, Cloclo3
Preencher com a Cor 3: #d07a7e
Effects 3 D, inner bevel (como antes, memorizado)
Remover a seleção
Effects 3 D, drop shadow: 2 / 2 / 50 / 10 /preto
Layers, merge down
Effects, Reflection effects, rotating mirror (como antes, memorizado)
Effects 3 D , drop shadow: 2 / 2 / 50 / 10 / preto
7
Carregar o tube deco Cloclo1, copy
Paste as a new layer
Ativar a pick tool (letra K), colocar:
Position X 60 / Position Y 122

(Letra M para desmarcar)
Colorir para adaptar às suas cores
Effects 3 D, drop shadow: 2 / 2 / 50 / 10 / preto
Effects, reflection effects, rotating mirror , como antes
Carregar o tube deco Cloclo 2, copy
*Paste as a new layer, não mover
Layers, arrange move down, 2 vezes
Ativar a layer do topo das layers
Carregar os tubes oiseaux, copy
*Paste as a new layer, colocar como sobre o exemplo final
Layers, merge visibles
Selections, select all
Image , add borders, symmetric:
1 pixel cor background
Effects, 3 D, cutout: cor #808080

Remover a seleção
8
Image , add borders, symmetric:
3 pixels branco
2 pixels cor foreground
3 pixels cor background
2 pixels cor 3
Select all
Image , add borders, symmetric:
15 pixels , cor sem importância
Selections, Invert
Preencher com o gradient inicial (cores Foreground / Background)
Effects, plugins: Graphics Plus, Cross Shadow , como à abertura
Effects, plugins: Filters Unlimited 2.0, Kang 2 , the Peacock variations:

Effects, textures, weave (branco):

Effects 3 D, inner bevel, novos dados:

Selections, Select all
Image , add borders, symmetric:
40 pixels , Cor 3 ( #dfc8b6 )
Selections / Invert
Preencher com o gradient initial (memorizado)
Effects, plugins: AAA Frames / FOTO FRAME:

Effects 3 D, drop shadow: 5 / 5 / 55 / 40 / preto
Selections, Invert
Mais uma vez: Effects 3 D, drop shadow: 5 / 5 / 55 / 40 / preto
Selections, Select all
Effects, plugins: AAA Frames, FOTO FRAME, Width a 2

Carregar o tube mulher , copy
* Paste as a new layer, colocar como sobre o exemplo (adapte ao seu tube)
Aplicar uma drop shadow de sua escolha
Carregar o tube panier, copy
Paste as a new layer, colocar em baixo à esquerda
Aplicar uma drop shadow de sua escolha
Carregar o tube coins, copy
Paste as a new layer, não mover
Assinar e juntar o watermark da autora
Layers, merge all (flatten)
Image, Resize width a à 1000 pixels
Salve em jpg
Tradução de:
Aucun commentaire:
Enregistrer un commentaire
Votre commentaire sera visible après modération