Este tutorial é da autoria de Cloclo

Obrigado por a sua confiança e o seu pedido para a tradução dos seus tutoriais
Nota da Autora:
É estritamente proibido copiá-lo ou distribuí-lo na web, blogs, fórum sem minha permissão por escrito.
Este tutorial foi realizado com Corel PaintShop pro 2020
Mas também pode ser realizado com outras versões PSP
traduzido com PSP ult. 2019
(se utilizar tubes com licença, não esqueça de a colocar sobre o seu trabalho)
![]()
Tutorial Original AQUI
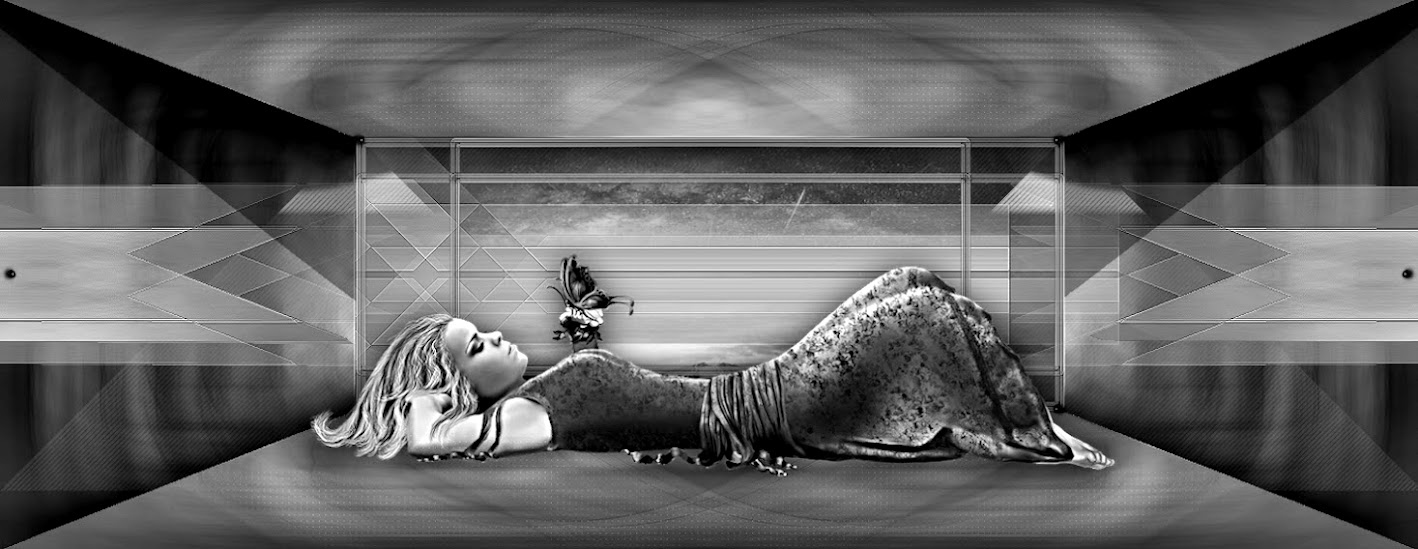
Versão conforme ao original:

![]()
Plugins:
I.C.Net Software / FitersUnlimited 2.0
&<Bkg Designer sf10III>VMT Instant Tile...
Paper Textures / Hemp Paper 2
[AFS IMPORT] sqborder2
MuR'as Seamless / Emboss at Alpha
MuRa's Filter Meister / Perspective Tilingg 1.1
AAA Frame Foto Frame
Alien Skin / Eye Candy 5 Impact / Extrude
![]()
Roteiro:
1
Cores:

Ouvrir le canal alpha voyage steampunk
Selections, Select all
Carregar a imagem de fundo: (a4e56056fe51a698934bb25a159abb03.jpg)
Edit/copy
*Sobre o seu trabalho: Edit /paste into selection
Remover a seleção (selections, select none)
Effects, Image effects, seamless tilling, setting Default

Adjust, blur, radial:


Effects, reflection effects, rotating mirror:

3
Layers, merge, visibles
Duplicar esta layer
Effects, plugins: I.C.Net Software, FitersUnlimited 2.0 , &<Bkg Designer sf10III>VMT Instant Tile... (a 77/31)

Juntar uma nova layer (layers, new raster layer)
Preencher com a cor 1
Carregar o mask_narah_dupla
* Layers, new mask layer, from image:

Layers, merge group
4
Effects, plugins: MuRa's Seamless, Emboss at Alpha:

Effects, reflection effects, rotating mirror, memorizado
Adjust, sharpness, sharpen
Effects 3 D, drop shadow: 5 / 5 / 100 / 10 / Cor 2

Duplicar esta layer
Image, Mirror/ Mirror vertical
Effects, plugins: MuRa's Meister , Perspective Tiling 1.1:

5
Effects, Image effects, seamless tiling: setting side by side

Adjust, sharpness, sharpen more
Effects 3 D, drop shadow: 0 / 0 / 100 / 0 / Cor 2
Duplicar esta layer
Layers, merge down
Adjust, sharpness, sharpen
Preparar um gradiente de cores (gradient) Radial :

Layers, new raster layer
Selections , load a selection from alpha channel, Cloclo1

Preencher com o gradient
Adjust, blur, gaussien, radius a 10

6
Effects, plugins: I.C.Net Software, FitersUnlimited 2.0, Paper Textures / Hemp Paper 2:

Adjust, sharpness, sharpen more
Effects, plugins: I.C.Net Software, FitersUnlimited 2.0, [AFS IMPORT] sqborder2:

Selections, Modify, Select the selection border

Effects 3 D / Inner bevel:

Carregar de novo a de sélection 1 (from alpha)
Selections, Modify, Contract de 5
7
Effects, plugins: AAA Frames, Foto Frame:

Remover a seleção
Effects, plugins: Alien Skin / Eye Candy 5 Impact / Extrude , aplicar o Preset Extrude_voyage_steampunk
Basic se necessário:
cor: #b29a88

Effects 3 D, drop shadow: 2 / 2 / 100 / 15 , preto
Duplicar esta layer
Image, Mirror, Mirror horizontal
Layers, merge down
8
Carregar o Misted Cloclo, copy
*Paste as a new layer
Layers, arrange, move down
Colocar com a pick tool (K)
Position X 158 / Y -18

Carregar os tubes , Redimensione conforme o necessário, colocar como sobre o exemplo final
Aplique: Drop shadow sobre cada um , segundo a sua preferência
Image, Add borders, symmetric :
3 pixels / Cor 2
3 pixels / Cor 3
3 pixels / Cor 1
Selections, select all
Image, Add borders, symmetric: 25 pixels Cor neutra
Selections, invert
Preencher com o gradient initial
Effects, plugins: Graphics plus, Cross Shadow, como à abertura

Effects, plugins: I.C.Net Software / FitersUnlimited 2.0 / Paper Textures / Hemp Paper 2, novos dados:

Effects, plugins: AAA Frames, Foto Frame, como antes
Selections / Invert
Effets 3 D , drop shadow: 2 / 2 / 100 / 10 / Cor 2
Remover a seleção
10
Image, add borders, symmetric:
3 px Cor 1
3 px Cor 3
Selections, select all
Image, add borders, symmetric: 40 px Cor neutra
Selections, invert
Preencher com o gradient inicial
Effects, plugins: Graphic plus, Cross Shadow, como à abertura

Selections, Modify, Contract de 15
Effects 3 D , drop shadow: 0 / 0 / 100 / 45 , preto
Remover a seleção
Image, add borders, symmetric: 1 pixel , preto
Carregar o tube coins, copy
*Paste as a new layer, não mover
11
Assinar e juntar o watermark da autora
Layers, merge all (flatten)
Image, resize width a 1000 pixels
Salve em JPG
Aucun commentaire:
Enregistrer un commentaire
Votre commentaire sera visible après modération